
Creating the Sales Channel
Launch the New Sales Channel Wizard via Channels > New.
The wizard will take you through the necessary steps to create your channel. The options you choose during setup can be amended later by going to Channels and double-clicking the Amazon channel to open it.
Marketplace Details
Each sales channel in Tradebox can download either seller-fulfilled sales or FBA sales for one Amazon regional marketplace. If you use a mix of fulfilment methods on Amazon or sell through multiple regions, you'll need multiple sales channels within Tradebox.
Choose Amazon as your marketplace to create a channel to download your Merchant (seller-fulfilled) sales. Alternatively, for Fulfilled by Amazon sales, choose Amazon FBA. Click Next.
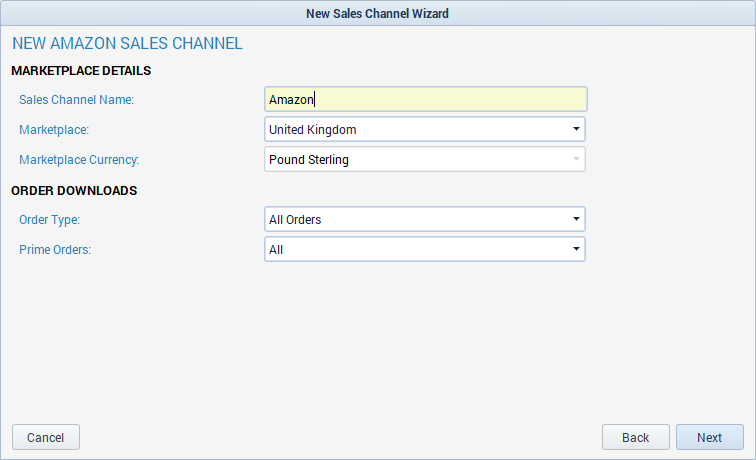
Enter a name for the sales channel (max. 50 characters). This is a label purely for you to identify the channel and can be amended at any time. Choose your regional marketplace from the drop-down and the marketplace currency will be automatically populated.
Choose your Order Type; Tradebox can differentiate between customer orders and Amazon Business orders; if you sell on Amazon Business you may wish to create a separate sales channel purely for those sales in order to set options at the channel level like using individual customer records in Sage, or have all EU sales treated as B2B.
If you sell through Amazon's Seller Fulfilled Prime program, you can also use the Prime Orders setting to set up a channel to download solely Seller Fulfilled Prime orders, to help easily identify orders that need to be shipped quickly.
Click Next.
Amazon Authorisation
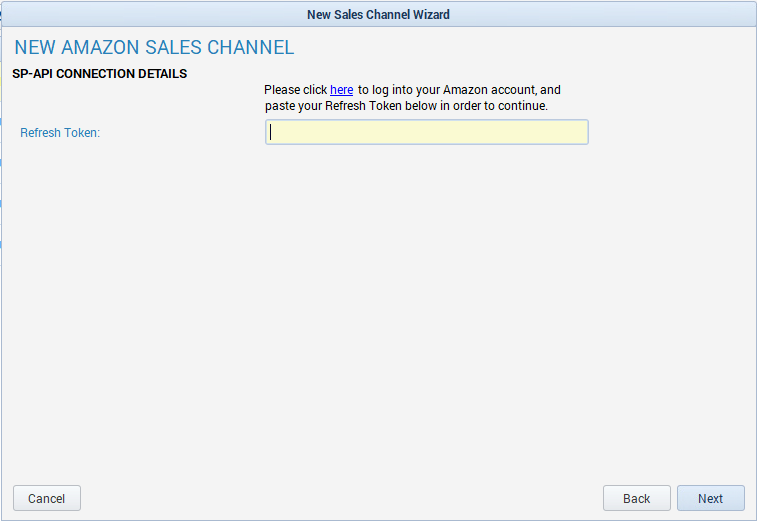
Click the "here" link to log into your Amazon account and complete the authorisation process for Tradebox.
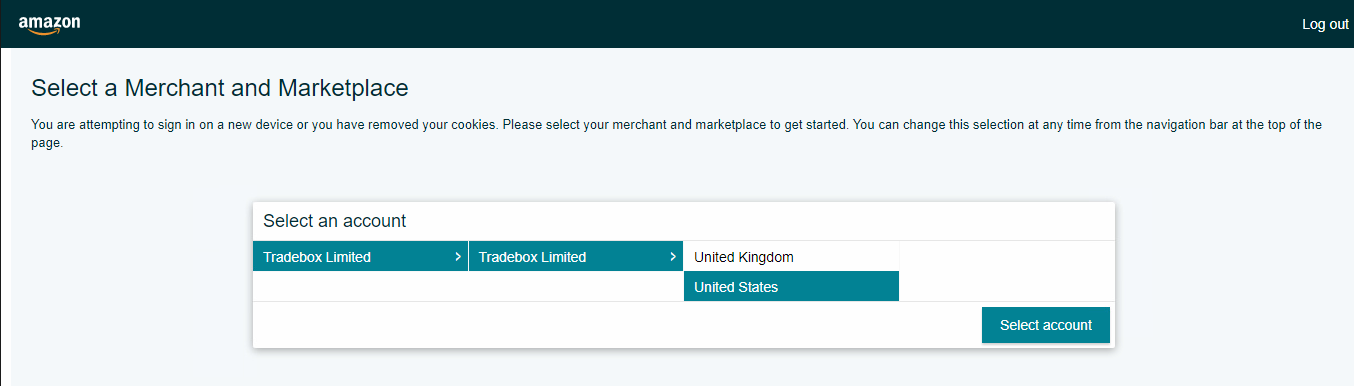
You will first be asked to choose which marketplace you're authorising Tradebox for. This should match the marketplace you chose on the previous screen of the wizard.
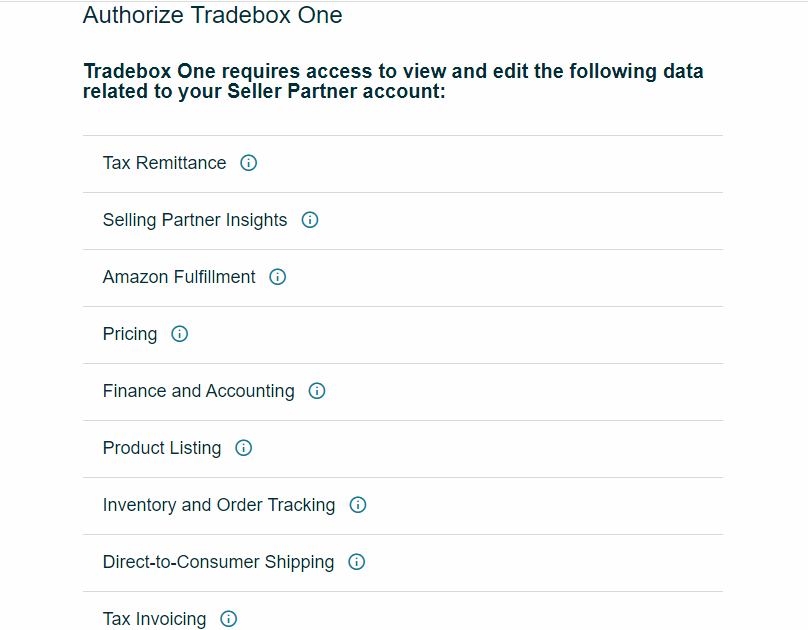
You will then be required to confirm that Tradebox is authorised to access your Amazon data.
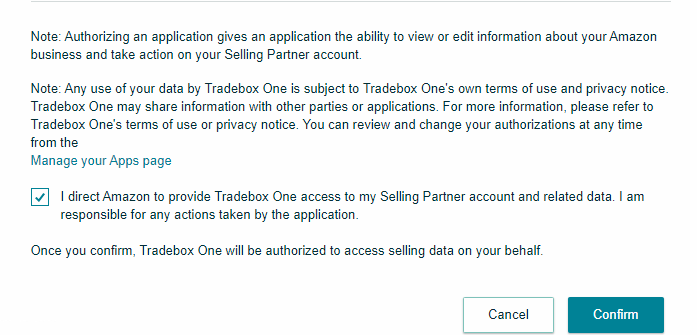
After you have confirmed, Amazon will display the authorisation for Tradebox. Copy and paste this into the relevant field in Tradebox, and then click Next.
Billing Addresses
Amazon presents Tradebox with a billing name and a recipient name for each order but only presents one address, which is the shipping address. Regardless of which option is chosen in this screen, if the billing name and recipient name are the same, Tradebox will copy the Amazon shipping address into the billing address fields as it creates the order.
Where the buyer and the recipient name don't match, Tradebox gives two options for the address of the order:
- If the option Only if the Recipient and Billing Names are the same is chosen, the order would be created with no billing address. The only billing field populated would be the name, and the billing country will be assumed to be UK.
- If the option Even if the Billing and Recipient Names are different is chosen, the shipping address will always be copied into the billing address fields. The billing name will still be displayed as it is on Amazon.
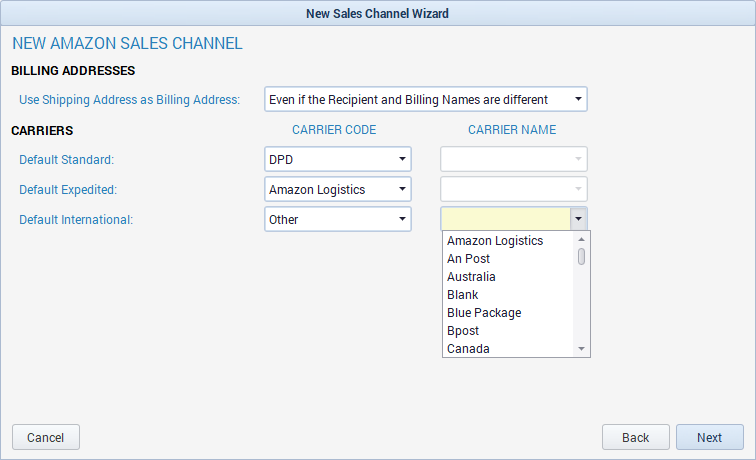
Carrier Options
Tradebox gives the option to choose default carriers from a list provided by Amazon. Choosing carriers is required if you wish to use Tradebox to mark items as shipped on Amazon. If you don't, skip this step.
Choose your defaults for Standard Carrier, Expedited Carrier and International Carrier from the drop-down menu.
If you choose Other then you'll also need to choose the Carrier Name from the second drop-down that appears, much the same as if you were dispatching through the Amazon website.
Click Next to continue.
Order Statuses

Amazon orders are visible for Tradebox to download as soon as they're paid; these orders have an Unshipped status on Amazon. If you want Tradebox to download orders as soon as they're available, tick the download box on the Unshipped/Paid line. You should also tick the download box on the Shipped/Despatched line.
Alternatively, you can have Tradebox ignore orders until they've been marked as Shipped on Amazon. In this case, you'd leave the Unshipped/Paid line unticked and only tick download on the Shipped/Despatched line.
Click Next to continue.
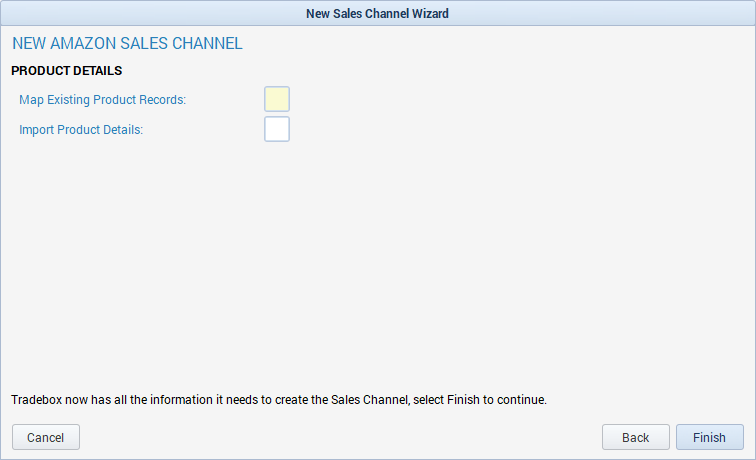
The options under Product Details only apply if you've set Tradebox as your stock control method. If your stock control is set to any other method these will not appear.
Map Existing Product Records will instruct Tradebox to automatically create a mapping between existing product records in Tradebox and the product SKUs that are downloaded in the orders from Amazon. Existing mappings can be amended and new mappings created at any time via Products > Mapping.
Use Import Product Details if you haven't built your product list in Tradebox yet and have a CSV file containing your product details.
Click Finish to end the wizard.
If you are connecting Tradebox to your accounts package, you will then be prompted to set up an accounts link. See our guides for accounts links connecting to Sage 50 or to Xero.
Once you've created your Amazon channel, you can configure advanced settings inside the channel record. See the channel configuration guides for Amazon Merchant channels or for Amazon FBA channels.
Comments
0 comments
Article is closed for comments.